
How to Sharpen Pruning Shears?[Detailed Tutorial]
How to Clean Hiking Boots?[Full Guide]
August 29, 2023What To Wear Rock Climbing (Expert Advice)
August 29, 2023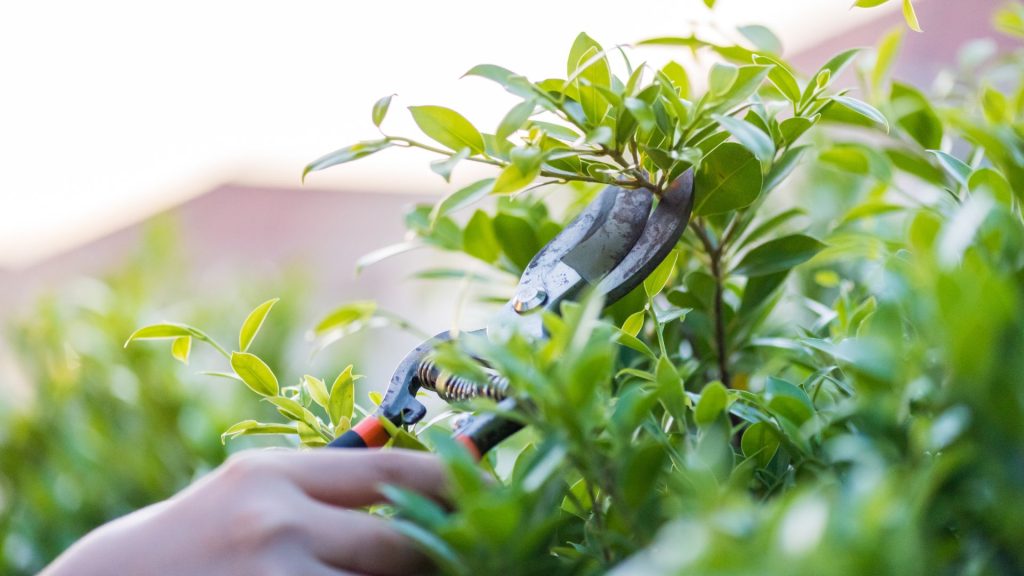
Welcome to the world of gardening and precision pruning! For painters to make masterpieces, they must keep their brushes in good shape. And gardeners need sharp pruning shears to make a healthy, well-kept yard. So, do you know how to sharpen pruning shears?
No matter how much you know about gardening, you need to know how to sharpen your cutting shears.
It can make your gardening tasks not only more efficient but also more fun.
This guide dives into step-by-step techniques, necessary tools, and expert mentions. Make sure your shears are always in good shape so you can prune your plants in a way that keeps them healthy and strong.
So grab your pruning shears! And let’s go on a trip to sharpen our skills and make every pruning a work of art in your thriving garden.
Project Overview:
| Work Time: 15 – 25 minutes (If you want to remove rust with vinegar, you will need to soak for a day.) | Skill Level: Beginner |
| Total Time: 15 – 25 minutes (If you want to remove rust with vinegar, soak for a day.) | Estimated Cost: $5 to $10 |
Tool List:
Equipment:
Materials:
â—Ź Large glass jar or casserole dish
â—Ź Carbide grinder or diamond file
â—Ź Wrench/screwdriver
â—Ź White vinegar
â—Ź Table salt
â—Ź Baking soda
â—Ź Multi-purpose oil
â—Ź Steel wool
â—Ź Cleaning rags
Protective Work:
â—Ź Wear protective gloves. Keeping your hands safe when cleaning and cutting pruning shears is important.
The best way to do this is to wear heavy-duty gardening gloves. If possible, choose thick leather gloves.
â—Ź Wear goggles. When you sharpen your trimming shears, keep your eyes safe. The best way to do this is to wear safety glasses or goggles. Wearing safety glasses when cleaning and sharpening scissors. It prevents metal bits and rust from hurting your eyes.
â—Ź Seek medical attention if you are injured. It can be dangerous to clean and sharpen farming tools. You should go to the hospital immediately if you cut yourself while cleaning or sharpening cutting tools.
How to Sharpen Pruning Shears?
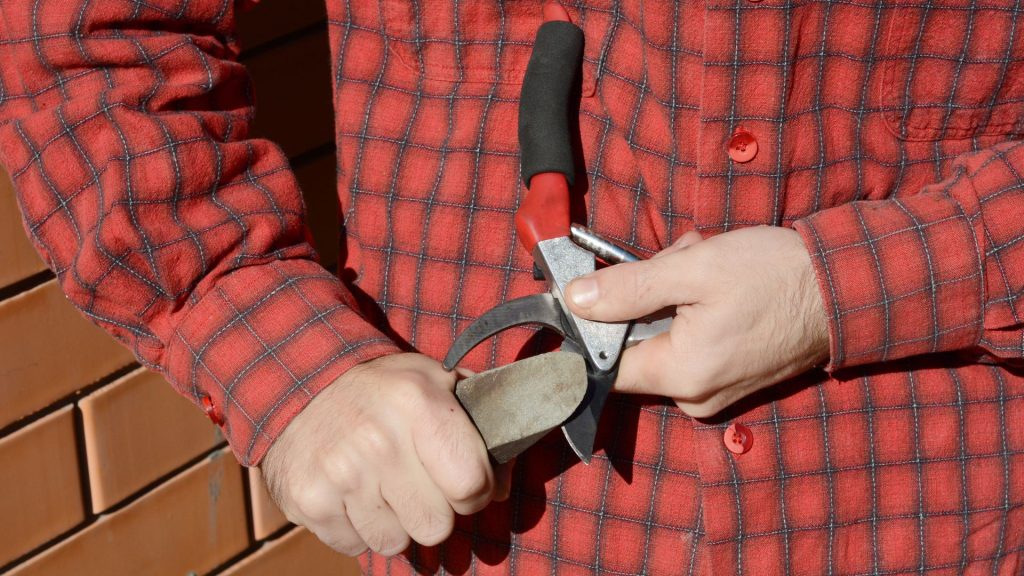
Step 1:Disassemble the components:
Now that you know your trimming shears must be sharpened, it’s time to take them apart. Some people skip this step and go right to sharpen the blades. But if you can, you should take apart your trimming shears.
It’s best to do this. It will give you more control when cutting and help you clean better, which is important, as you’ll see.
Now that you know your trimming shears must be sharpened, it’s time to take them apart. Some people might skip this step and sharpen the blades. But you should take your cutting shears apart if you can.
During this process, you can also check each part’s quality and change it if necessary.
â—Ź Before taking something apart, it’s a good idea to think about where each part will go when it’s back together.
You can take a photo if needed. Modern pruning shears usually have a main screw or bolt holding each side together.
â—Ź Wearing safety gear, carefully loosen it with a screwdriver or wrench until the cutting shear breaks in half. Organize all the parts to ensure you keep all spring coils that may have fallen off.
â—Ź If you can’t take the trimming shears apart, you can move on to the next step.
Step 2: Remove rust:
1.Remove rust with vinegar and salt
Soak the part that has rusted in a mixture of white vinegar and salt until it looks like it did when it was new.
Follow the same steps for any rusty metal tool, such as hammers, wrenches, scissors, shears, etc.
Pour the vinegar into a glass jar or baking dish. Stir in two tablespoons of salt until most of the specks have dissolved.
Mix in the pruning shears and vinegar until the metal is fully submerged.
Throw in the bolts and nuts as well.
Let the pruning shears soak for 12 to 24 hours. 2.
2. Neutralize acidity
Any remaining rust can be wiped off with steel wool. Once the trimming shears are no longer rusty, they must be put in a jar with water and two tablespoons of baking soda. It can neutralize the acidity of the vinegar.
Leave them there for about 10 minutes. Please take them off when the time is up and let the pruning shears dry completely before going on to the next step.
Once done, you can easily remove the rust from your pruning tools by gently brushing them off with a steel wool ball.
Finally, wipe them off with a cleaning rag, and you’re ready for the next step.
Step 3: Sharpening Scissors
Now for the main event – sharpening the scissors. Again, make sure you are wearing safety gear before attempting this. Depending on the type of pruning shears you are sharpening, the method required will vary.
The blades of anvil pruning shears are sharp and angled on both sides. But the blades of road pruning shears are sharp but only angled on one side.
Anvil cutting shears must be sharpened on both sides because you have to sharpen the side with the angle.
- Find the best view. Hold the sharpening tool up to the blade at the same angle as the slope, typically between 20 and 25 degrees.
If you’ve never sharpened pruning shears, getting the blade at the right angle may take some time. - Sharpen the blade – From the base to the tip, smooth the sharpener along the length of the blade and press firmly.
Repeat the same action 10-20 times (for extra dull blades, you may need to tap 25-30 times). - sharpness test – After each set of cuts, use some leaves or twigs to check how sharp the blade is. You know you’re done when you can make clean and easy cuts.
Tip.
If your cutting edge needs a lot of work, a drop of oil on the sharpening stone may help you get the sharp edge you want without overheating the metal.
Step 4: Reassembly
Put the blades back into the handles to start putting the trimming shears back together. Then, use the pivot bolt and lock nut to hold the handles together.
The lock nut should be tightened until the spring forces the blade open. The locking gear can be secured at this point, and the pruner is ready for use.
NOTE:
Refer to your previously captured images if necessary. Test the blades to check that they are working properly. If the springs or nuts feel stiff, you may need oil.
Step 5: Wrapping up
Before storing your pruning shears in a dry and protected place, ensure they are clean. They should be kept on a safety lock and out of the reach of children. Wiping the scissors with mineral oil will also help to prolong their life.
How Often Should You Sharpen Pruning Shears?
As often as you need to, you should sharpen your trimming shears.
As a rule of thumb, once a year is enough. However, if used regularly, It may need to be sharpened more often.
The most important thing here is to watch out for dull blades. It can lead to cuts that aren’t even and damage to the leaves that don’t need to be done. It can make the leaves take longer to heal and spread disease.
Dull blades can also make pruning shears inconvenient and unsafe, so the chore must be addressed.
Tips for Maintaining Pruning Shears
â—Ź Remember to clean your pruning shears between each cut to keep diseases from spreading. You can do this by cleaning the blades with a cloth soaked in industrial alcoahol.
It may seem like a lot, but if you aren’t careful, cutting can quickly spread disease from one plant to another.
â—Ź Don’t try to cut anything too big for the pruning shears. The manual or box should say the largest branch size the blades can cut. Do not try to cut anything bigger than this with this tool, or you could hurt it.
â—Ź Tighten the blades when you need to. As you use the pruning shears, the blades will naturally come free and form gaps. Be ready to tighten the hinge screws when you need to.
â—ŹReplace scissors when they get too worn. If the blades aren’t fixed, buy a new pair of trimming shears.
â—Ź Clean your hand-cutting shears away with a lubricant-sprayed cloth before putting them away.
â—Ź Store pruning shears in a dry place, such as a garden shed or garage, when not used.
â—Ź Keep pruning shears away from dirt; clean them thoroughly if they come into contact with dirt.
Conclusion
When you finish sharpening your trimming shears, you bring the plant and yourself closer together.
Remember, sharpening your scissors is more than just a maintenance task. It’s a way to enhance your gardening experience and achieve stunning results.
Taking care of your tools will not only make them last longer, but it will also help you become a better gardener.
With the information and skills you’ve learned, you can shape your garden to show how much you care and how good you are at it.
Your commitment to mastering this skill reflects your commitment to the natural world. Don’t be afraid to get into trouble. Happy gardening and happy sharpening together!


