
How to Clean Pruning Shears?Things You Should Know
How to Clean Hiking Shoes(Step by Step)
August 25, 2023How to Clean Hiking Boots?[Full Guide]
August 29, 2023
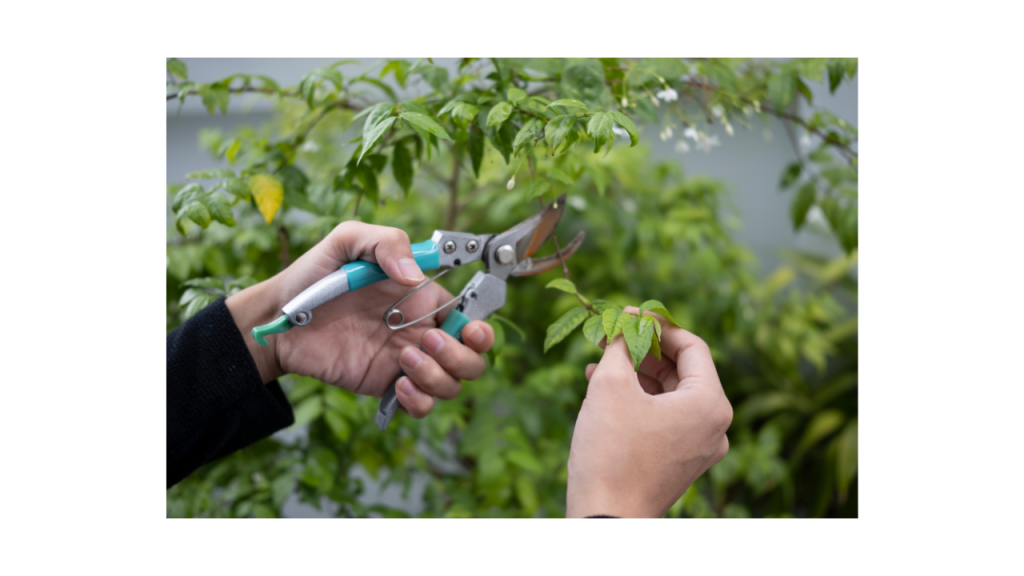
Pruning shears are like an extension of a good gardener’s green thumb: they are exact, effective, and necessary for keeping plants healthy and beautiful. But how to clean pruning shears?
Imagine a messy yard shed with a pair of pruning shears that are covered with bits of old trimming projects. Over time, dirt, sap, and rust can build up on the blades, making it hard for them to move smoothly and cut well.
But don’t worry because you’ll learn how to bring your trimming shears back to life, return them to their former glory, and use them to their full potential in the next few lines.
This step-by-step guide will show you how to clean cutting shears. It will tell you what tools and materials you’ll need and how to clean the shears so they look new.
Tools Needed for Cleaning

When cleaning cutting shears, the right tools can make the job go much faster and more easily. Here are some of the most important things you’ll need to clean cutting knives well:
Clean Water
Water is one of the most important things to clean your cutting shears. Make sure you have a clean water source, like a tap or a bucket, to rinse and soak the shears.
Mild Dish Soap or Detergent
A gentle soap or detergent removes dirt, sap, and grime from the blades. Pick something gentle that won’t damage the shears’ metal or plastic components.
Wire Brush or Toothbrush
A wire brush or old toothbrush might do the trick for stubborn muck and sap. With these tools, you can reach into tight spots and clean all of the scissors’ nooks and crannies.
Steel Wool or Sandpaper (Fine Grit)
If your trimming shears have rust on the blades, steel wool or fine-grit sandpaper can help remove the rust and smooth out the metal again. Use these tools carefully and with light pressure to avoid damaging the blades.
Rubbing Alcohol or Vinegar
You can clean cutting tools by putting rubbing alcohol or vinegar on them. These chemicals help kill any germs or viruses on the blades. That makes diseases less likely to spread from one plant to another.
Clean Cloth or Towel
A clean cloth or towel is essential for drying the shears after cleaning. It helps prevent the formation of rust and ensures that the shears are ready for storage or immediate use.
Lubricating Oil
A little coating of lubricating oil on the shears’ pivot point and blades will prevent corrosion and prolong their useful life. The pivot point and blades can help stop rust and keep the shears running smoothly. Use light oil for machines or a tool lube for this.
Tips: Always wear gloves when cutting tools, especially if they are sharp or have rusty spots. Also, ensure your work area is safe and well-lit to keep it clean.
How to Clean Pruning Shears?

Dismantling Pruning Shears
Using the key that came with the shears, take them apart by sorting the parts and putting them in a neat, organized pile on a dry, clean surface.
You can also use a screwdriver or an Allen key instead of the right key.
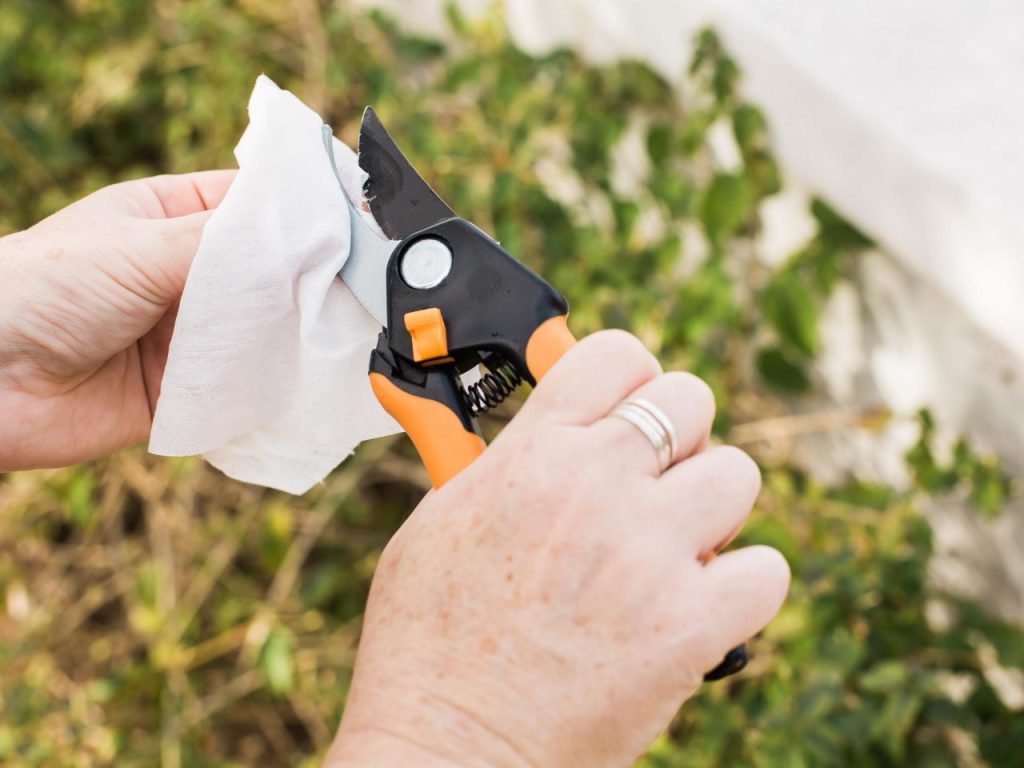
Clean The Blades
Check and clean each part, paying special attention to the blades, which can be removed from their handles for a more thorough cleaning.
To clean the blades, you can rub them with wire wool to remove any rust and then wipe them down.
If the blades are dirty, you can clean them by putting brown sauce or steak sauce on them and leaving them on overnight. In the morning, use water to wipe away the mixture to show sharper, cleaner blades that won’t scratch the surface.
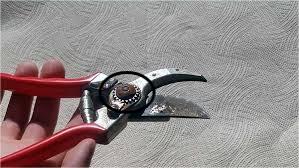
Scrub the Turning Point
Clean the pivot region where the top and bottom handles will be joined. Remove oil, debris, and rust particles with a clean cloth or towel.
Assembling Pruning Shears
Put the blades back into the handles of the secateurs, and then tighten the hinge bolt and locking nut to keep the blades in place.
Tighten the locking nut until the spring can barely open the blades. After the closing gear has been put in place, the secateurs are ready to be used.
Why You Need to Clean Pruning Shears?
Cleaning pruning shears is a crucial aspect of their maintenance and care. Here are a few key reasons why cleaning pruning shears is necessary:
Prevent the Spread of Diseases
Pruning Shears can be used on both healthy and sick parts of plants, like stems and leaves. When you clean the shears, you eliminate germs or plant matter that might be stuck on the blades.
That will keep your garden healthy by making diseases less likely to spread from one plant to another when you trim.
Maintain Optimal Cutting Performance
Over time, dirt, sap, and other things can build up on the cutting edges of trimming tools, making them less effective. Cleaning the shears removes these things, so the blades can move freely and cut cleanly.
It ensures that your pruning shears will continue to work well when used to prune, which will lead to healthy plants and better garden care generally.
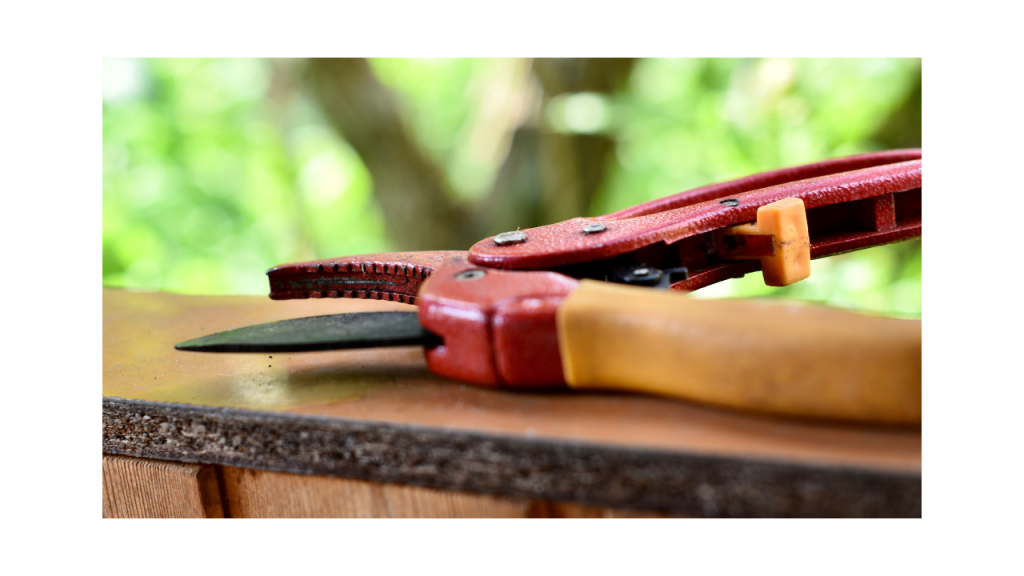
Prolong Shear Lifespan
Pruning tools last longer if they are cleaned and cared for regularly. Removing dirt, sap, and rust protects the tool from rusting and damaging the blade.
Enhance Safety
When dirt builds up on the blades, it can cause them to stick or bind, making the cuts uneven or sharp.
Pruning shears and other instruments are safer and more convenient to use after a good cleaning.
Keeping your shears in good shape makes you and others working in the yard safer.
How Often to Clean Pruning Shears?
The frequency of use of pruning shears can affect how frequently you need to clean them. Which plants do you prune? And how they are put to use.
But as a general rule, trimming shears should be cleaned after each use or at least once every few times.
Trimming shears need to be checked and kept in good shape by cutting the blades and greasing the pivot point as needed. This thorough plan for pruning shears will ensure they are always in the best shape for quick, accurate cutting.
Remember that you’ll have to clean your cutting shears more often the more you use them. As part of your gardening practice, you should clean your pruning shears often to make sure they last and work well. It is good for your plants and your cutting experience.
FAQ :How to Clean Pruning Shears
Q1. How often should I clean my pruning shears?
It’s best to clean your pruning shears after each use to prevent sap buildup and rust. Regular cleaning prolongs their lifespan.
Q2. What’s the recommended cleaning method?
Start by wiping off excess dirt and debris with a cloth. Then, soak the blades in a mix of soapy water, scrub with a brush, rinse, and dry thoroughly.
Q3. Can I use bleach or harsh chemicals to clean them?
Avoid harsh chemicals as they can damage the blades and handles. Stick to mild soapy water or a vinegar solution for safe and effective cleaning.
Q4. How do I remove sap from the blades?
Apply a mixture of equal parts rubbing alcohol and water to a cloth, and gently scrub away the sap. Rinse, dry, and lubricate the blades afterward.
Q5. Is lubrication necessary after cleaning?
Yes, it’s essential. Apply a thin layer of oil or a silicone-based lubricant to the blades and pivot points to prevent rust and ensure smooth operation.
The End
In conclusion, proper maintenance of your pruning shears is essential for their longevity and optimal performance. Regular cleaning, removal of sap, and careful lubrication will not only prevent rust and damage but also ensure smooth and efficient cutting during your gardening endeavors. By following these simple steps, you’ll be able to enjoy the benefits of well-maintained pruning shears that will help you achieve beautifully manicured plants and trees for years to come.


