
How To Set Up A Rod: Step-By-Step Guide
How to Store Fishing Rods? Steps Here for You!
August 22, 2023How Can I String a Fishing Rod?
August 24, 2023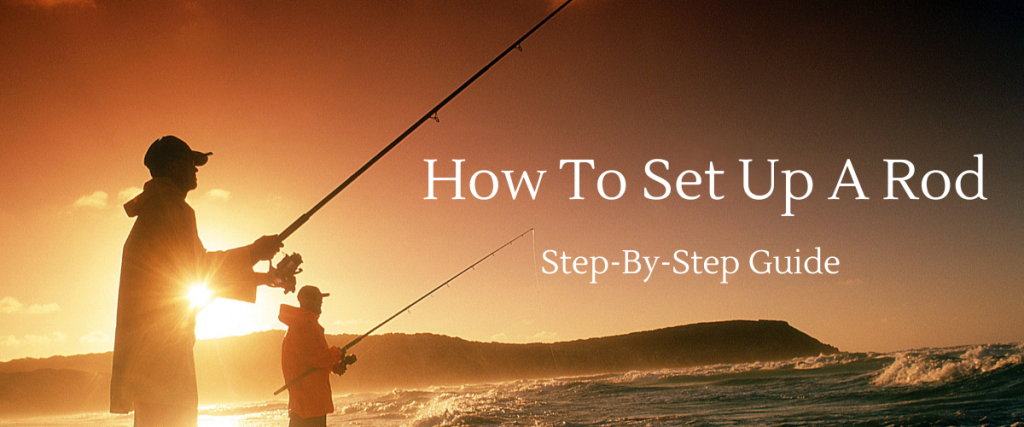
For many anglers, learning how to set up a rod properly is a mystifying process. Between attaching the reel seat and aligning the guides, it can seem daunting to know where to begin. But with the right step-by-step approach, anyone can master the method to constructing their dream fishing rod.
In this guide, we will clearly break down each phase of the rod setup sequence. By exploring the key steps like positioning the reel seat, spacing the line guides, and securely affixing quality grips, even first-timers can learn how to set up a rod like a pro. We’ll provide tips and visual examples to make the process simple and understandable.
How to Choose the Right Fishing Rod?

Choosing the perfect fishing rod is more complex than just picking any old stick! The ideal rod truly depends on you, your fishing style, and what you want to catch. So let’s walk through the key factors that will help you land the ideal rod.
First, picture yourself fishing. Are you chest-deep in a cool mountain stream? Casting far off the beach? Or miles offshore, reeling in marlin? Your fishing location determines if you need a short, medium, or long rod. For streams, a 5–6-ffoot ultra-light rod provides precision casting. Onshore surf fishing calls for a 10–12-ffoot heavy rod for distance.
| â—Ź Short rods: Typically 5-6 feet long. Well suited for small streams and ponds where you need precise, short distance casts. â—Ź Medium rods: Usually 6-8 feet long. A versatile range good for rivers, lakes, and inshore fishing. Provides ability to make moderate distance casts. â—Ź Long rods: Sometimes called surf rods, typically 10-12 feet long. The extra length allows long distance casting which is great when fishing from shore into the ocean. Also helpful for hitting far spots in large lakes. â—Ź Ultra-long rods: Can reach up to 16 feet long. Specialized rods used for extreme distance surf casting or offshore tandem rigs. Not very portable or practical for everyday use. |
Next, think about your target fish. Are you hoping to hook your first trout? Or battle a 100-pound sailfish? Rod power ranges from ultralight to heavyweight. Match it to the fish you’re chasing. Slow-action rods flex more for light-biting fish, while fast action is stiffer for setting the hook on aggressive biters.
Don’t forget extras like line guides, reel seats, and grips. Features like corrosion-resistant stainless steel components will hold up for years of ocean fishing. And comfort is key when fighting a bass all afternoon!
| â—Ź Ultra light: Best for catching small fish like trout, panfish, and light saltwater species. Ideal for finesse techniques. â—Ź Light: Handles slightly larger fish like bass, walleye, redfish. A good all-around freshwater range. â—Ź Medium: A versatile power for catfish, stripers, inshore species. Can subdue larger fish. â—Ź Medium Heavy: Built for big game like peacock bass, tuna, sharks inshore. Strong backbone but tip flexibility. â—Ź Heavy: Made to wrestle the biggest offshore species like marlin, sailfish, tarpon. Power in the lower blank for lifting strength. |
Finding the sweet spot means reflecting on how and where you fish. Tell a knowledgeable tackle shop employee if you’re new. With a balanced rod match for your style, you’ll land more trophy catches than ever!
How to Set Up A Rod?
Setting up a new fishing rod properly is important for optimal performance. Follow these key steps:
Step 1: Attaching the Reel Seat
When learning how to set up a rod, the first step is attaching the reel seat that will hold your fishing reel. Slide the reel seat component onto the blank end nearest the handle. Tighten down the hood or bands securely to hold it in place. Double check that the reel seat is properly aligned.
Step 2: Adding the Line Guides
The next step in how to set up a rod is attaching the line guides that lead from the reel to the tip. Arrange the guides evenly spaced apart on the rod blank. For smooth casting, the guides closest to the reel should be smaller, progressively getting bigger in size towards the rod tip. Secure each guide tightly using guide wraps and epoxy.
Step 3: Attaching the Rod Handle and Butt Cap
Once the reel seat and guides are affixed, you can move on to the handle. Slide your cork or foam handle grip onto the blank’s opposite end. Then add the butt cap to the bottom of the handle and secure it. This completes the basic build when learning how to set up a rod.
Step 4: Adding Hook Keeper and Winding Checks
Some extra components include adding winding checks for decoration and wire wrap integrity. A hook keeper near the handle helps secure hooks when not in use.
Step 5: Attaching Reel and Stringing Guides
Based on your rod’s specifications, seat your chosen fishing reel size into the reel seat. Tighten it down properly. String the fishing line through the guides out the tip, completing setup.
Step 6: Testing and Tuning
After learning how to set up a rod fully, test flex and make any tuning adjustments. Cast to ensure smooth, frictionless line flow through the guides. Your rod will now be ready to catch fish!
Periodically clean and lubricate reels to prevent sticking and wear. And rinse rods after saltwater use.
Taking a few minutes to properly rig up your rod means it will perform well when you need it. Don’t forget to inspect your line, guides, and connections frequently while fishing. Proper setup and maintenance leads to more bites, fewer problems, and more fishing fun!
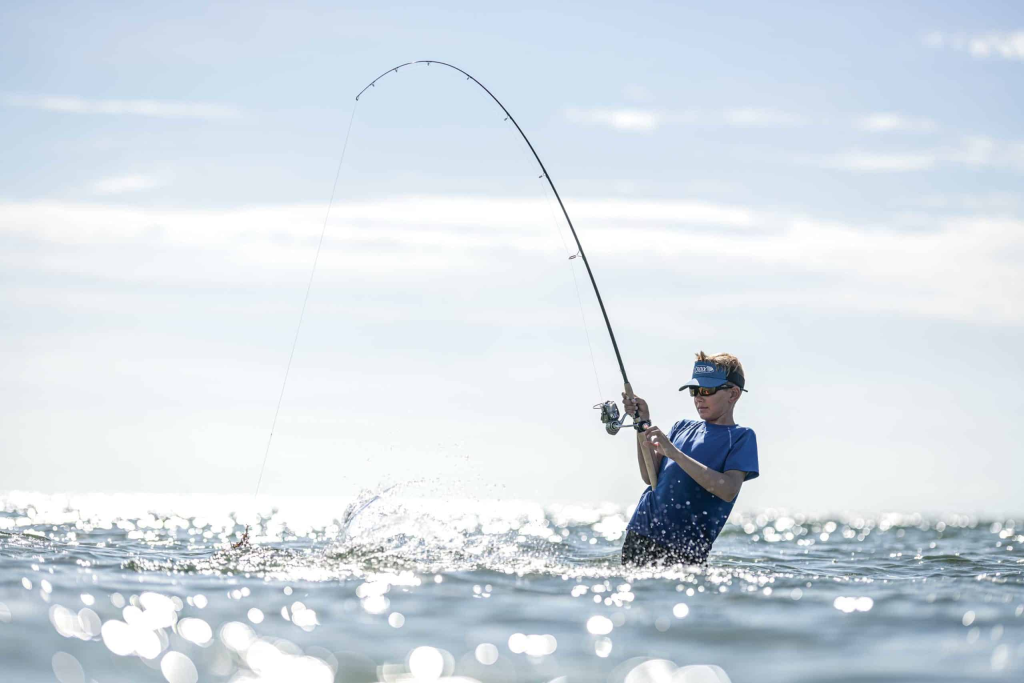
How to Cast A Fishing Rod?
Casting a fishing rod requires some simple techniques that take a bit of practice to master.

The basic steps are:
â—Ź Start by gripping the fishing rod handle with your dominant hand, placed under the reel. Use your other hand to open the bail arm on the reel to release line.
â—Ź Raise the rod tip upward and bring it back over your shoulder to begin the backrest. Use your wrist to bend the rod, building up potential energy.
â—Ź When you’ve reached the optimum rod bend, quickly swing your forearm forward while straightening your wrist to release the cast forward.
â—Ź As the lure or bait lands on the water, lower the rod tip slightly to allow the line to straighten and prevent slack.
â—Ź To retrieve, use your non-dominant hand to turn the reel handle and take up slack line while guiding the rod tip.
â—Ź Repeat casting in a smooth, rhythmic motion. Target different spots on the water expanding your coverage area.
â—Ź Adjust your grip, casting style, and retrieve motion to adapt to changing conditions and fish activity.
â—Ź Practice proper casting techniques on land before fishing to develop good mechanics.
The key is using a smooth, quick motion and letting the rod do the work. Don’t muscle the cast with just your arms. And be sure to stop the rod once it’s pointing where you want to cast.
Practice makes perfect with casting. Go to a park or open area to work on your technique before hitting the water. And don’t forget to check your local regulations so you know any rules related to casting distances from shore, boats, etc.
Use your wrist to generate the whip-like action for casting instead of just your arm. And always look behind you before each cast to avoid hooking people or objects!
The key steps are gripping the rod properly, bringing it back smoothly, and then making a quick forward motion to launch the lure/bait. Don’t swing too hard or you’ll lose control. Aim for an easy, fluid cast. With a bit of practice, you’ll be hooking fish in no time!
FAQS – How to Set Up A Rod?
Here are some frequently asked questions and answers about how to set up a fishing rod:
What is the proper reel seat placement?
The reel seat should be positioned on the rod blank nearest the handle. It goes on the end opposite from the tip, aligned properly for your reel model.
How are line guides correctly spaced?
Line guides should be spaced evenly apart leading from the reel seat to rod tip. Start with smaller guides near reel getting progressively larger toward the tip.
What line weight should be used for a baitcasting rod?
Baitcasting rods are designed for heavier line – typically 20lb test or higher is recommended. Using lighter line can lead to backlashes and loss of casting control.
How tight should the reel be cinched down?
Reels should be tightened down firmly in the reel seat, but not excessively tightened. Over-tightening can put stress on the reel foot and rod blank. Tighten reel locks snugly.
Where should hook keepers and winding checks be placed?
Winding checks add strength around reel seats and guide wraps. Hook keepers belong on front grip for safely securing hooks when not fishing.
What knots are best for tying on lures and hooks?
Good knot choices are the improved clinch knot for tying on hooks and palomar knot for attaching lures. They are easy to tie and hold well under fishing stress.
How can the rod guides be checked?
Run a cotton ball through the guides to feel for any burrs or roughness that could damage line. Guides should be smooth. Replace any damaged guides.
Conclusion
Setting up your own custom fishing rod may seem intimidating, but having the right process makes it achievable for any angler. By following key steps like properly attaching the reel seat, spacing and aligning the line guides, securing quality cork grips, and adding functional accessories, you can have a personalized, high-performing rod ready for the water.
Keep in mind factors like your target fish species, preferred techniques, and fishing locations as you select components. Planning the design ahead of time will make the assembly smooth sailing. With a methodical approach and attention to detail, your custom fishing rod will be a source of fishing pride and bring in trophy catches for years to come.
The joy of the first fish landed on a rod you built yourself is unmatched. So grab your preferred rods parts and get ready to create your perfect fishing weapon. With the knowledge gained from this step-by-step guide, you now have the blueprint to build the ideal rod tailored to your fishing dreams.
Author

ANDREW HOFFMANN
Andrew Hoffmann is an avid outdoor enthusiast and writer specializing in evaluating and reviewing outdoor equipment.
Andrew has trekked through rugged mountain ranges from the Rockies to the Andes, summited major peaks, and completed long-distance hikes like the Appalachian Trail and Pacific Crest Trail. He's spent over 500 nights camping in all terrain and weather. This first-hand experience testing gear on the trails allows Andrew to provide practical, knowledgeable advice.
As an avid explorer with years of experience evaluating outdoor products, Andrew strives to be an authoritative voice that outdoor enthusiasts can trust.


